How to Plan a First Family Hike: Distance and Elevation by Age7 min read
The most common way to spoil a first family hike is to pick a trail that is too long. Adults read “3 miles” and picture an hour. A six-year-old experiences those same 3 miles as an afternoon, with stops, complaints, and a long walk back. The fix is to plan by your youngest walker’s limits, not by the destination. Use the age table below as a starting point, learn what a trail listing is really telling you, and decide the turnaround point before you leave the car. A short hike that ends with energy left over leads to a second hike. An overlong one often does not.
How Far Can Kids Hike? Distance and Elevation by Age
Children vary, and a kid who walks a mile to school daily starts from a different place than one who does not. Treat these numbers as a conservative first-hike target, not a limit, assuming an unhurried pace and regular stops.
| Age | Total distance | Elevation gain | Time on trail | Notes |
|---|---|---|---|---|
| 2 to 3 years | Up to 1 mile | Under 100 ft | 1 to 2 hours | Expect to carry the child for much of it |
| 4 to 5 years | 1 to 2 miles | Up to 200 ft | 1.5 to 2.5 hours | Short legs tire on steady climbs |
| 6 to 8 years | 2 to 3 miles | 300 to 500 ft | 2 to 3 hours | One steady climb is fine if there is a payoff at the top |
| 9 to 12 years | 3 to 5 miles | 500 to 1,000 ft | 3 to 4 hours | Motivation and food decide the last mile |
| 13 years and up | 5 to 8 miles | 1,000 to 1,500 ft | Half a day | Adult distances, once fitness and interest are there |
Elevation gain deserves more respect than distance. Flat 3 miles and 3 miles with 800 feet of climbing are different outings. Many hikers use a rough rule of thumb: every 500 feet of gain costs about what an extra flat mile costs. It is an approximation, but a useful check. If a trail’s distance plus its climbing “extra miles” passes your child’s row in the table, pick a shorter trail.
Start at the low end of your youngest child’s range; a child who finishes fresh will ask to go again.
For children under four, our guide to hiking with toddlers goes deeper on carriers, snacks, and bail-out plans.
How to Read a Trail Listing
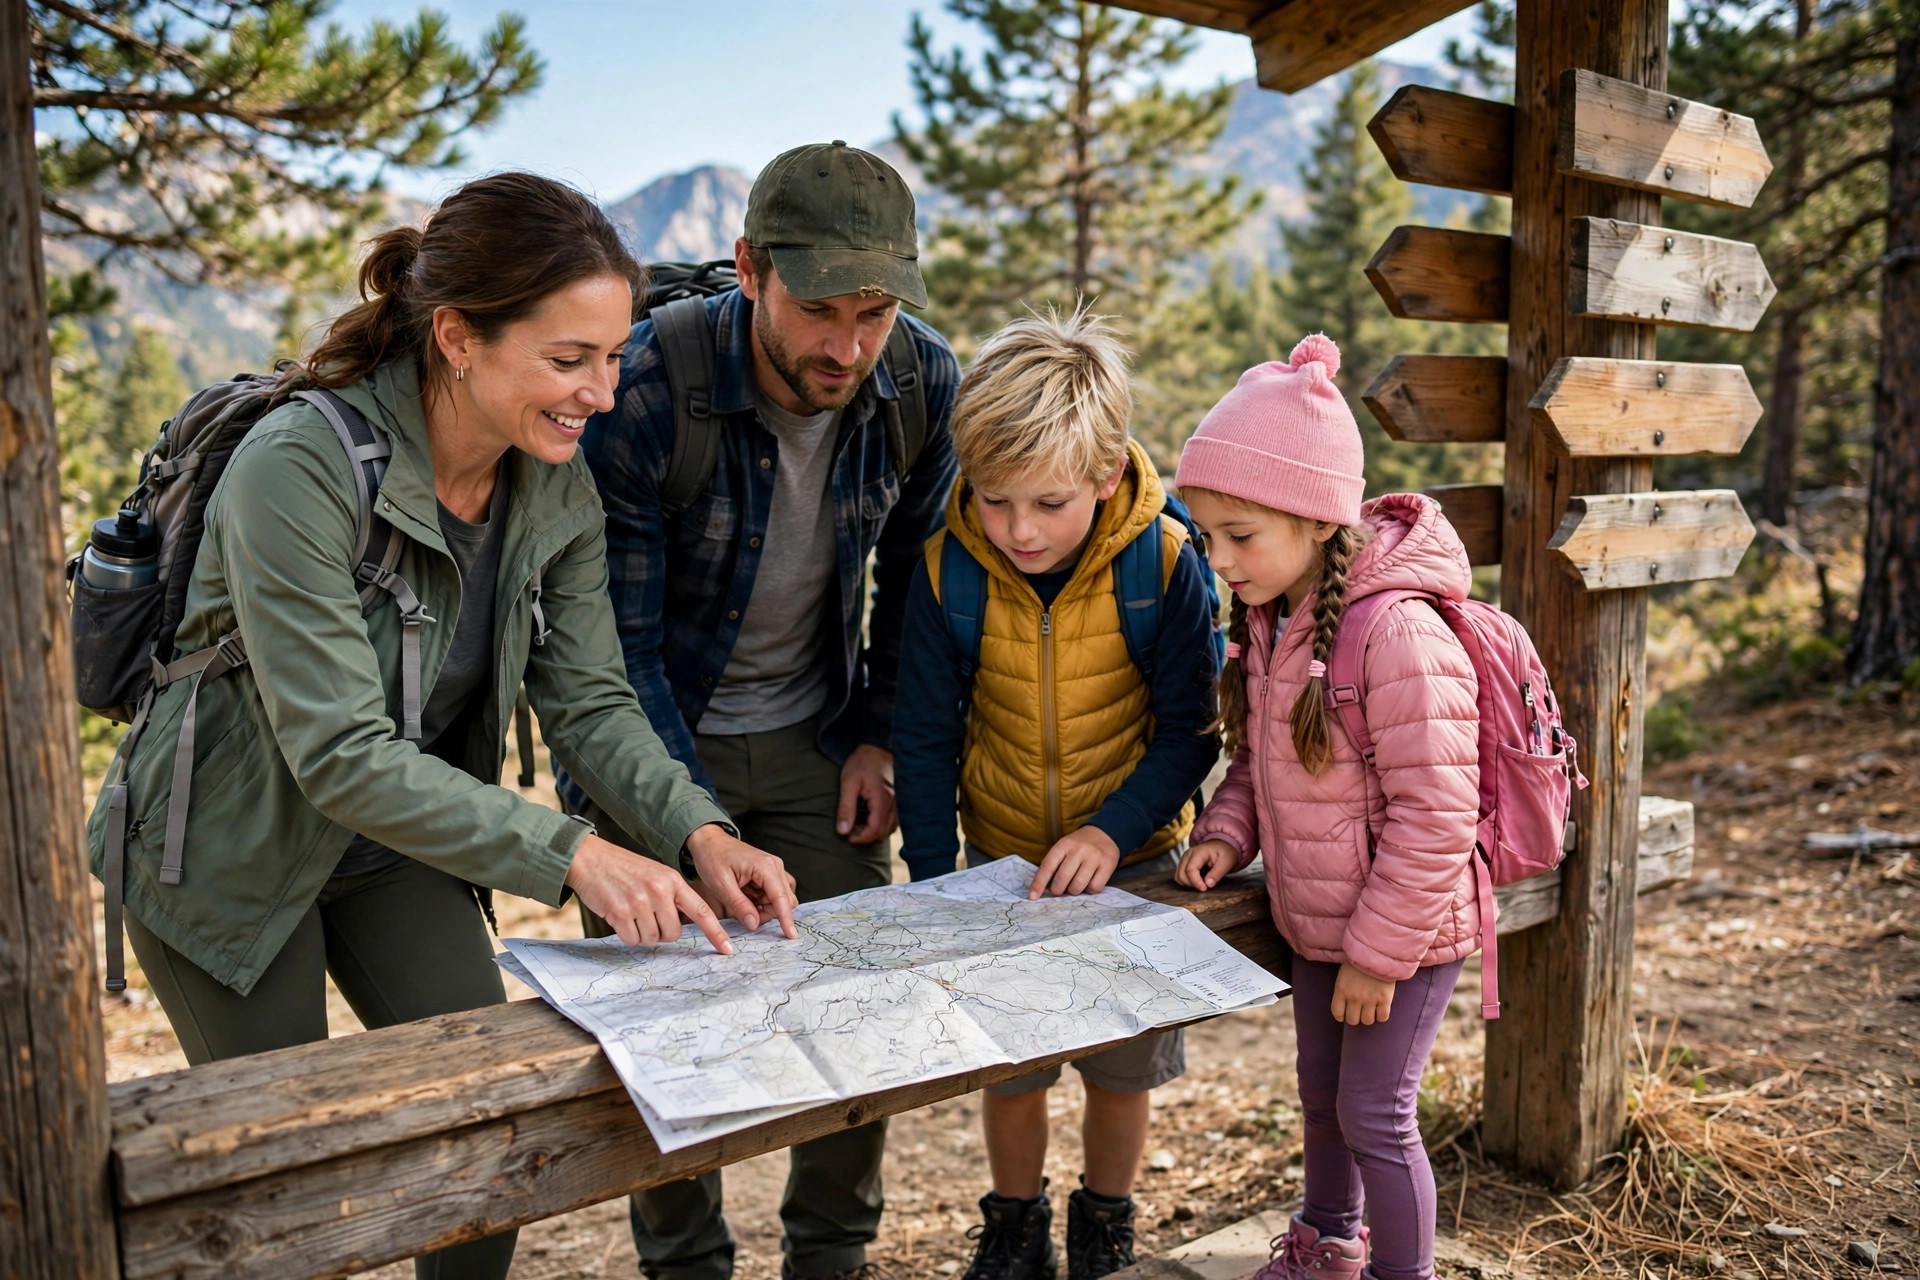
Trail listings compress a lot into four numbers, two of them easy to misread.
Distance
Check whether the number is the round trip or one way. A loop’s distance is the whole loop. Out-and-back listings usually give the total there and back, but some guidebooks list the one-way distance to the destination, which quietly doubles your day. If the listing names a destination, such as a lake or a summit, confirm which number you are looking at.
Elevation gain
This is every uphill section added together, not just the height difference between trailhead and high point. A rolling trail that never climbs more than 100 feet at a stretch can still total 600 feet of gain. Gain spread evenly is far easier for kids than the same gain in one steep pitch, so check an elevation profile or recent trip reports, not just the number.
Surface and difficulty
Difficulty labels are not standardized, so look at surface details instead: paved, gravel, packed dirt, rocky, or rooty. Rocky and rooty surfaces slow small children more than distance does. Recent reviews are the best source for current mud, downed trees, and creek levels.
Time estimates
Listing times assume a steady adult pace with few stops. With children under eight, doubling the listed time is a safer planning number. That accounts for snack stops, bug inspections, and one lost mitten.
Checking conditions before you go is the first Leave No Trace principle for a reason; see the planning guidance at Leave No Trace.
Loop or Out-and-Back for a First Hike?
Choose out-and-back for the first few hikes. Its one real advantage outweighs the rest: you can turn around at any point and the day still works. A loop commits you. Past halfway, finishing is usually shorter than going back, which means a tired child and a long, fixed walk. Save loops for the second or third hike, once you know your child’s actual pace. Point-to-point trails need a car at each end; skip them for now.
Choose a Trailhead With Amenities and an Exit
For a first family hike, the trailhead matters almost as much as the trail. Look for:
- Parking that does not fill by mid-morning, or a plan to arrive before it does
- Toilets at the trailhead, which removes the most common pre-hike stress
- A picnic table or open ground for the post-hike snack that motivates the walk back
- Shade on part of the route, and crossings shallow enough to be a feature, not a hazard
- A shorter backup option nearby, such as a nature trail at the same park, for a day when a child wakes up unwilling
Some popular trailheads now require parking reservations or timed entry permits. Check Recreation.gov or the managing agency’s site before you drive out, because a turned-away car ends the day before it starts.
Pack the night before rather than the morning of. Running through a family hiking checklist takes ten minutes and means the morning is spent driving, not hunting for the second water bottle.
Plan the Turnaround Before You Start
Decide the turnaround rule in the car, where it is a plan, not on the trail, where it becomes an argument. The simplest rule is time-based: walk out for a set time, then turn around, wherever you are. For a first hike with young children, 45 to 60 minutes out is a sensible ceiling. The walk back takes longer for tired kids than the walk out did, so a time rule protects the return half.
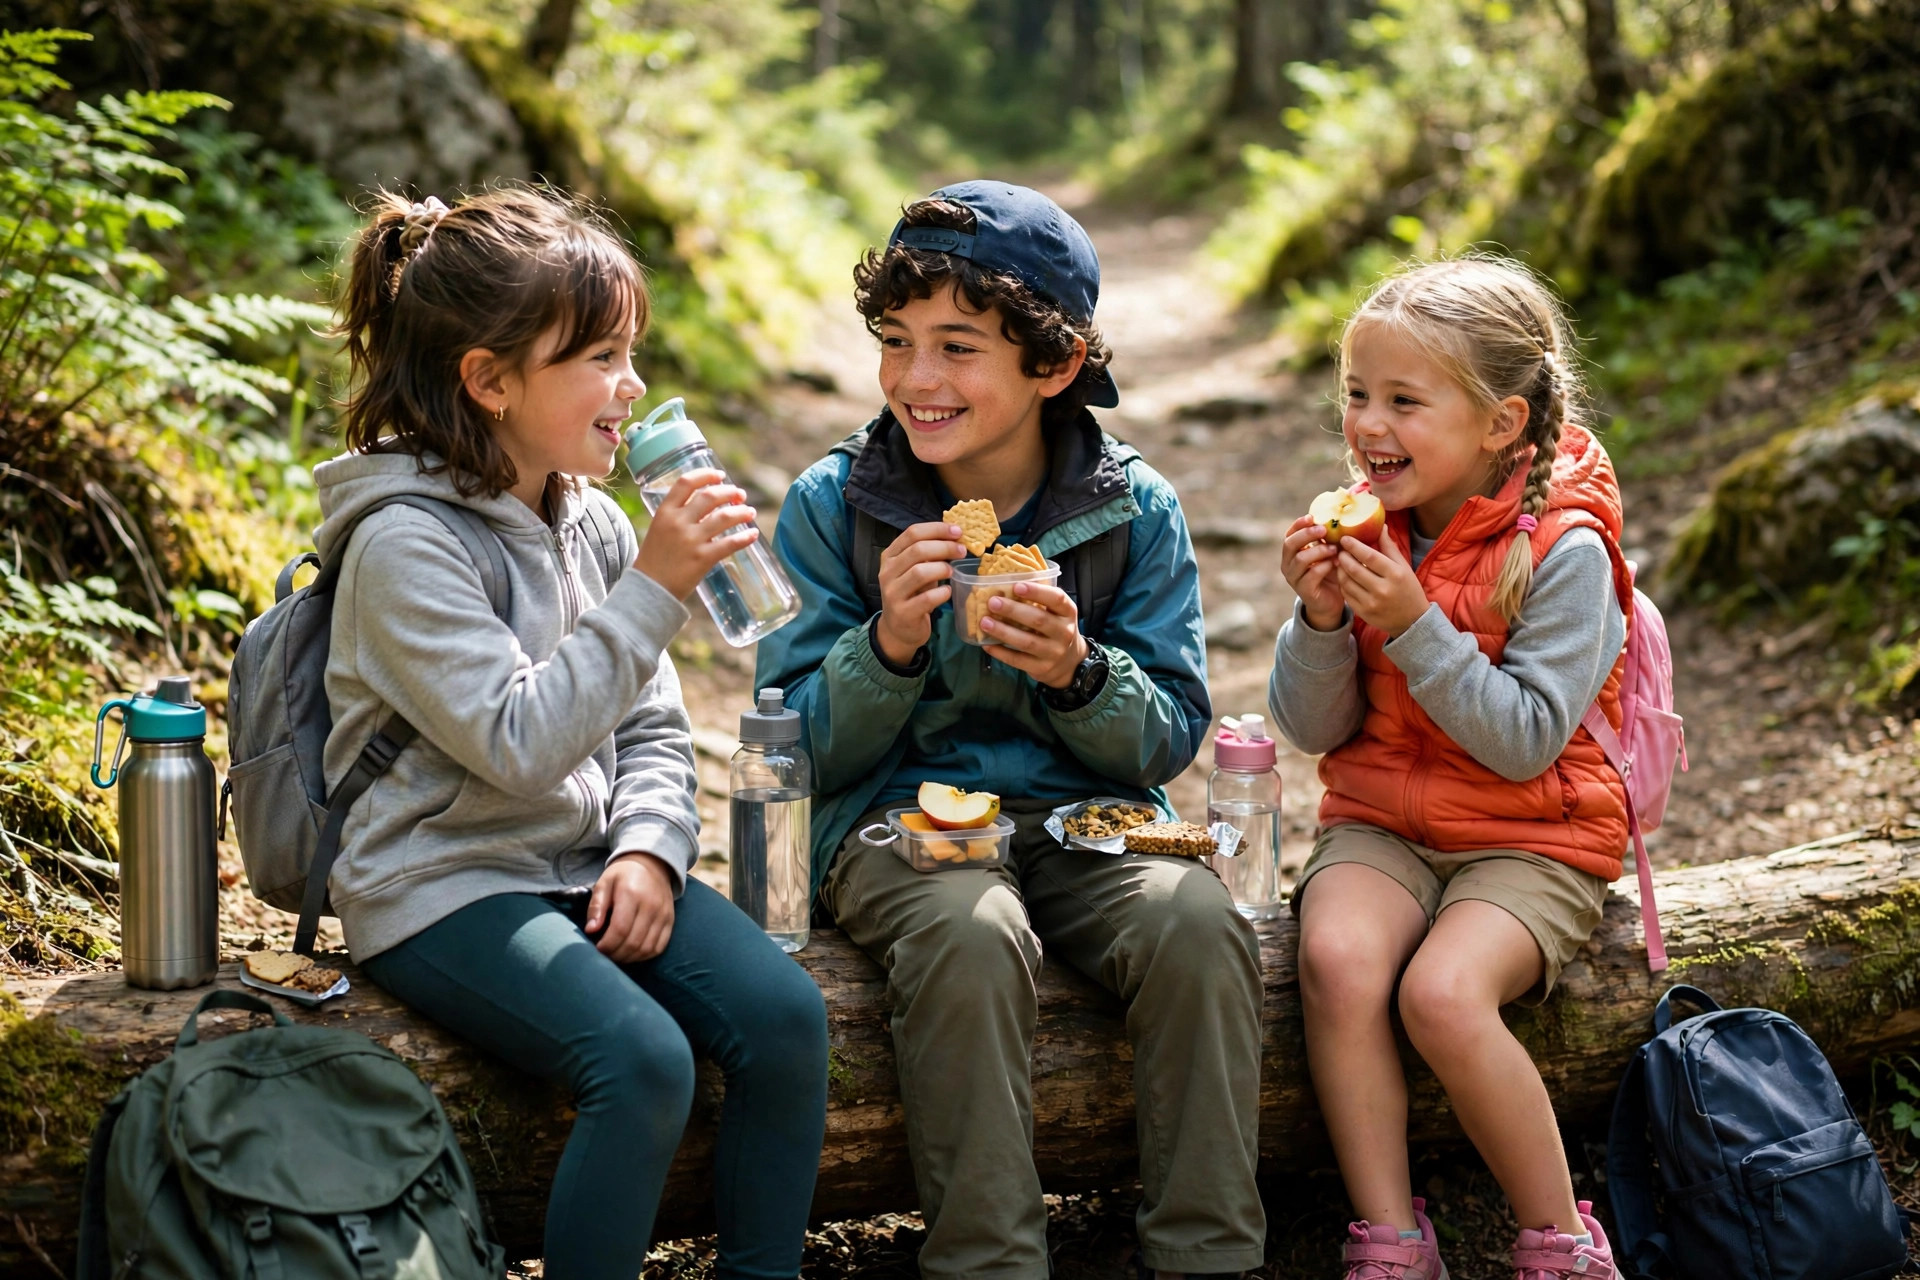
Give the turnaround a small ceremony. On an out-and-back trail, the turnaround point is where the best snack comes out. Announced in advance, turning around reads to a child as reaching the event, not giving up on the destination.
If everyone is still fresh, pick a slightly longer trail next time. Weather gets a veto at any point. Check the forecast for the trailhead’s elevation, not your town’s, since mountain weather runs colder and wetter. Rain that is merely unpleasant for an adult ends a small child’s hike quickly.
Before You Go: A Short Routine
Check the forecast, download an offline map of the trail, and tell someone where you are going and when you expect to be back. Fill water bottles, charge one phone fully, and leave a change of clothes for each child and food for the drive home in the car. Our hiking checklist covers the full day-hike kit, including the small items that get forgotten most. Once the first hike goes well, our guide to hiking with kids covers building distance and skills from there.
Start shorter than you think you need to. The goal of a first family hike is not the summit or the lake. It is a child asking, on the drive home, when the next one is.
Frequently Asked Questions
What time of day is best for a first family hike?
Morning, for most families. Trails and parking lots are quieter, temperatures are cooler, and children are at their freshest. A morning start also leaves a wide buffer before dark, which removes time pressure from the turnaround decision. In hot climates it is close to a requirement.
Should kids carry their own backpacks on a first hike?
A small pack, yes, kept light. Water, one snack, and perhaps a light layer is plenty for a young child, and it gives them a stake in the outing. Adults should carry everything safety-related, plus the extra food and water. If a child asks you to carry their pack halfway through, take it without comment.
What should we do if the weather turns bad mid-hike?
Turn around early rather than waiting it out, especially with young children. Put on rain layers before anyone is soaked, and head down. In a thunderstorm, get off exposed ridges and summits, stay away from lone tall trees and water, and wait at lower ground until 30 minutes after the last thunder before climbing again.

The 10 Essentials for Day Hikes, Updated for Families

Hiking With Toddlers: Short Trails, Snacks and Bail-Out Plans