How to Fly a Stunt Kite: Your First 5 Tricks7 min read
Learning how to fly a stunt kite feels like learning to steer with both hands at once, because that is exactly what it is. A single-line kite flies itself; a stunt kite only does what your two hands tell it to do, which is why the first ten minutes can be chaotic and the next ten suddenly click. Once your hands understand pull turns and push turns, the kite stops feeling random, and your first five tricks turn out to be small, planned versions of moves you are already making by accident.
Our top picks, compared:
How to Fly a Stunt Kite: Dual-Line Basics First
A stunt kite is a dual line kite: two lines, one to each hand. Pull the right line and the kite turns right; pull left, it turns left; hold both hands even and it flies straight. Three setup details matter:
- Equal line lengths: if one line is longer, the kite pulls to one side all day; lay both lines out side by side and adjust the knots until they match exactly.
- Handles or straps at the same setting: use the same knot on both leader lines.
- Hands in front, elbows relaxed: hands at waist height, a few inches apart; stunt flying is mostly wrist and small pulls.
Stunt kites are one family in our guide to the types of kites, and if you are still shopping, our roundup of the best stunt kites covers the sizes and frames that forgive beginner mistakes.
The Wind Window: Where Your Kite Can and Cannot Fly
Picture a quarter dome in front of you, with you at the center and the wind at your back. Directly overhead and straight downwind at eye level is the power zone, where the kite pulls hardest and moves fastest. The edge of the window, out to your left and right and up overhead, is where the wind barely holds the kite up; that edge is where launches, stalls, and landings happen. Fly your early sessions at the edges, where everything happens slower.
Launching and Landing a Dual Line Kite
The easiest launch uses a helper: they hold the kite at the edge of the window, nose up and slightly into the wind, while you walk back until the lines are tight; on your signal they let go, you step back and pull both hands evenly, and the kite climbs.
Solo, lay the kite on its back, nose pointing away, lines straight back to your handles; a small tug tips the nose up, and a steady pull launches it. Our guide on how to launch a kite solo covers the setup in detail.
Landing is a skill, not an accident: fly the kite to the edge of the window, low to the ground, and walk toward it with gentle tension until it settles.
How to Steer a Stunt Kite: Pull Turns vs Push Turns
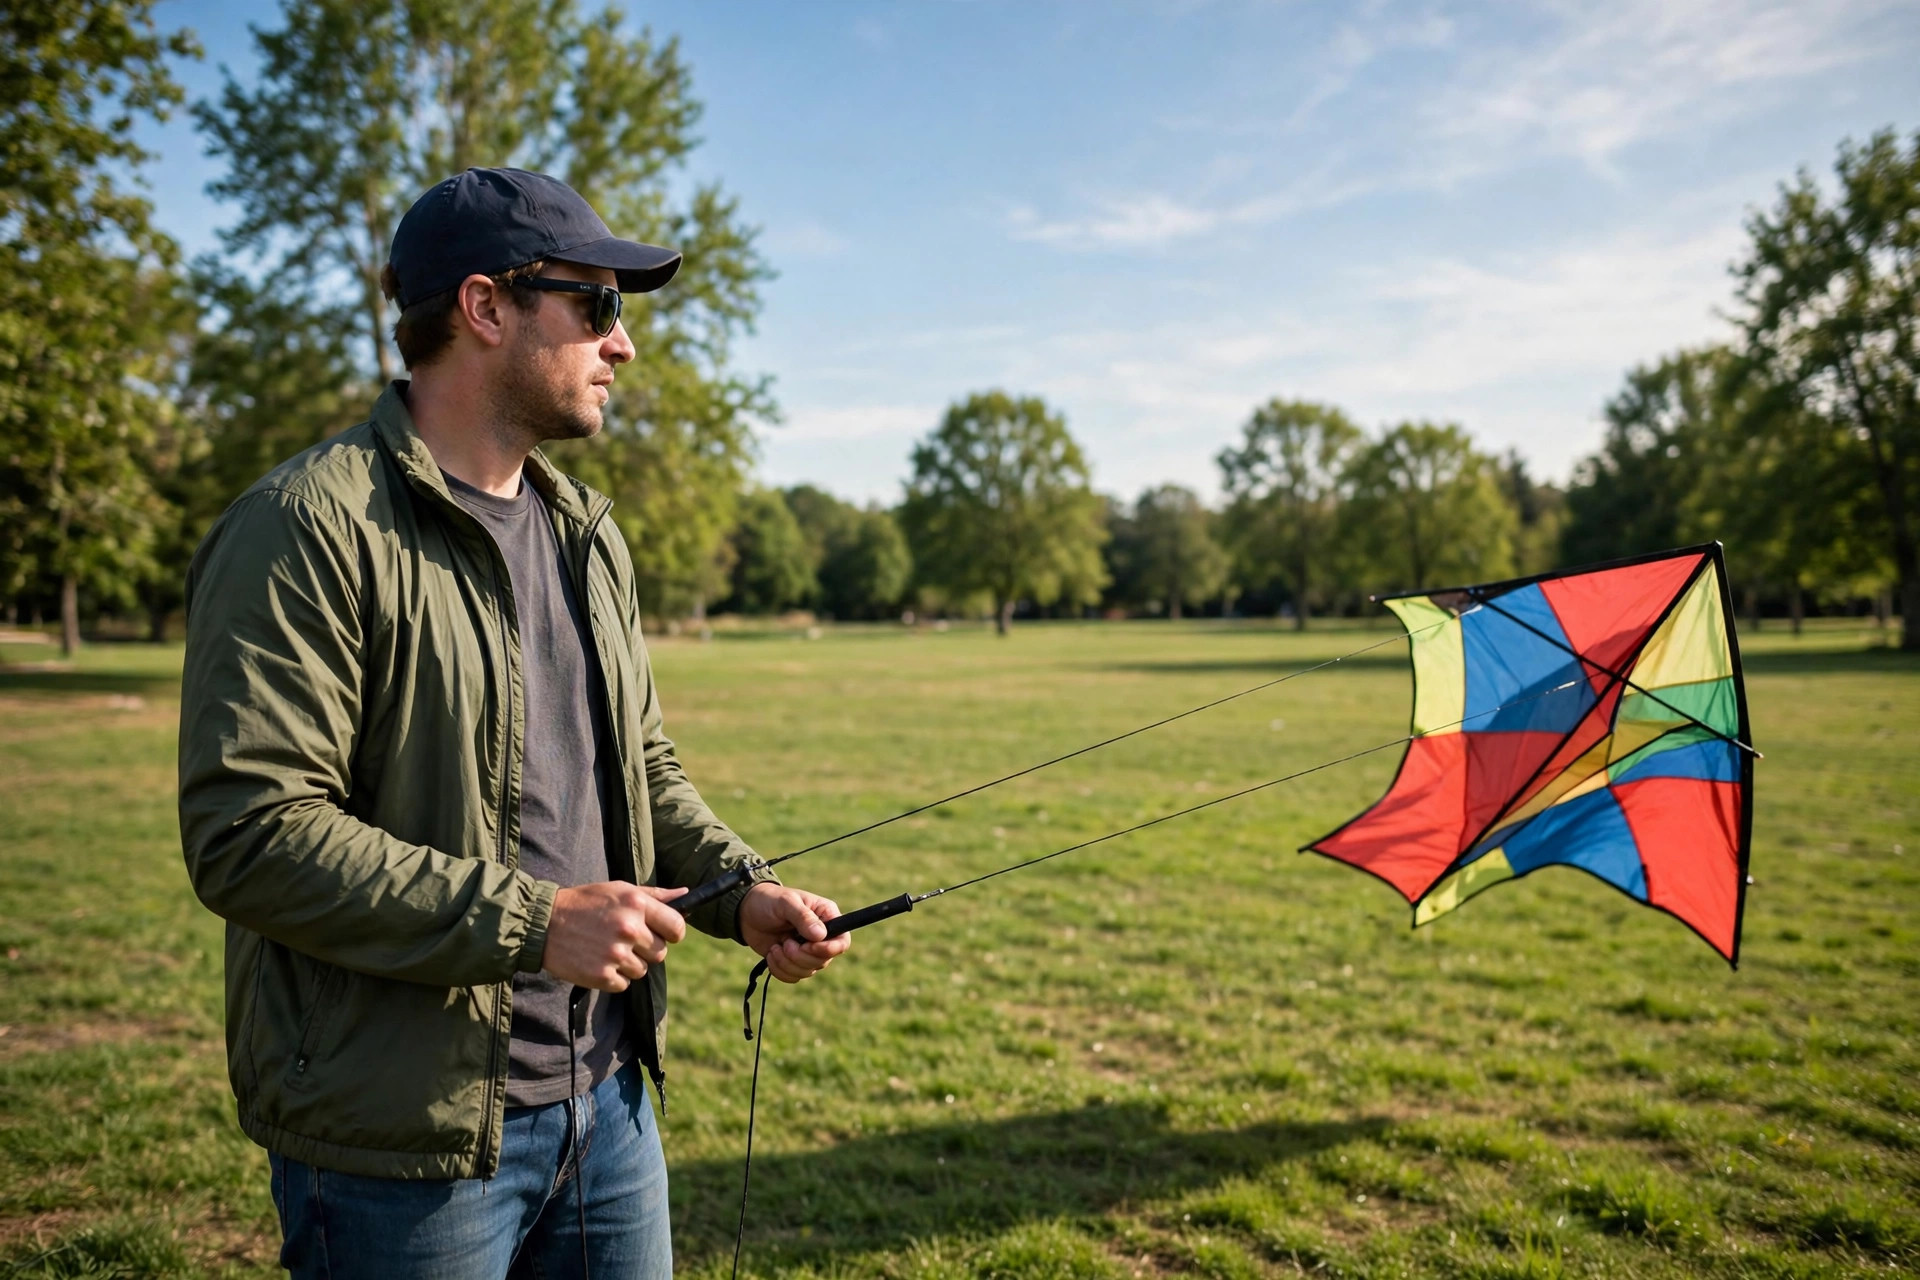
A pull turn is the beginner move: pull one hand back toward your hip and the kite turns that way; pull and hold, and the kite loops. Pull turns are powerful and fast, but the kite loses a little height and speed.
A push turn is the finesse move: push one hand forward, giving that side slack, and the kite turns toward the pushed side; push turns are slower, tighter, and keep the kite’s speed up.
Combine them: a small pull to start a turn, a push to sharpen it, both hands back to even to stop it. That return to neutral is the key habit.
Your First 5 Stunt Kite Tricks, in Learning Order
Trick 1: Basic Turns and Loops
Fly across the window, pull your right hand back, and watch the kite carve a turn. Level out with both hands even. When turns feel boring, hold the pull a little longer and the turn becomes a loop.
Trick 2: The Figure Eight
Link a right turn into a left turn through the center of the window, then repeat. Smooth figure eights at a steady height are the foundation of all stunt kite tricks. If your eights sag in the middle, start each turn a little earlier.
Trick 3: The Stall
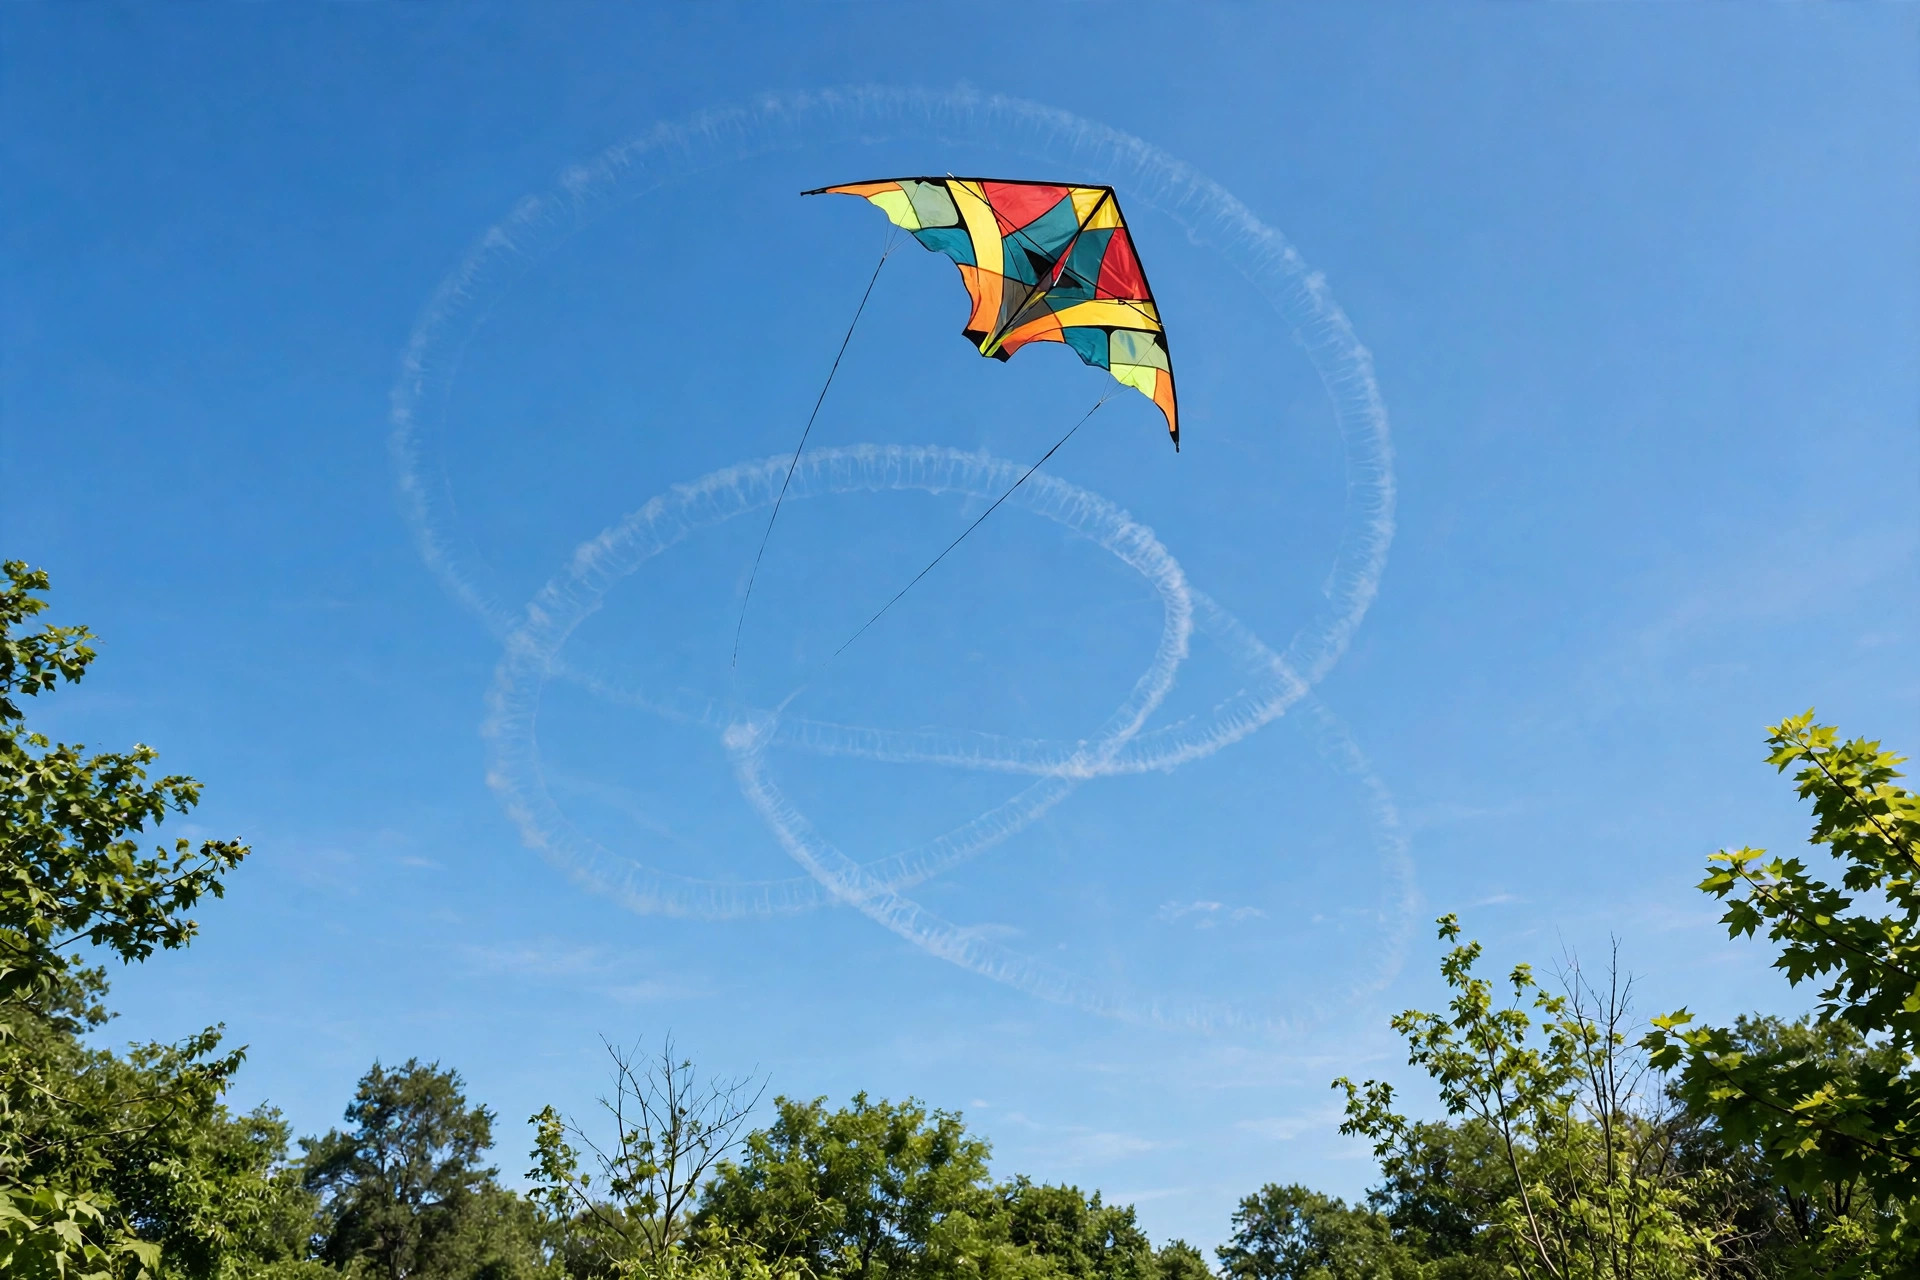
Fly the kite to the edge of the window, then walk forward while pushing both hands ahead of you. The kite runs out of wind, hangs nose-up, and floats. A clean stall means you can stop the kite anywhere.
Trick 4: The Snap Stall and Landing
From a stall, give a short, sharp pull on both lines, then immediately push forward again. The kite snaps square to the wind and settles straight down. Done low, this becomes a controlled landing on the spot you chose.
Trick 5: The Axel (Your Stretch Goal)
Stall the kite, then pop the lower wing’s line with a short flick while giving slack with both hands. The kite rotates flat, then you take up the slack and fly out. Expect a dozen failures first; that is why this one is the stretch goal.
| Trick | Difficulty | The Key Move |
|---|---|---|
| Basic turns and loops | Beginner | Pull one hand to your hip to turn, hands even to straighten |
| Figure eight | Beginner | Link a right turn into a left turn through the window’s center |
| Stall | Easy intermediate | Walk forward and push both hands ahead at the window’s edge |
| Snap stall and landing | Intermediate | Sharp pull on both lines, then push forward and settle nose-up |
| Axel | Stretch goal | Stall, flick the lower wing’s line, give slack, then recover |
Common Beginner Errors and Quick Fixes
- Oversteering: big pulls make the kite spin and dive; shrink every input by half.
- Watching your hands: your hands lie, the kite does not; keep your eyes on the kite.
- Unequal lines: if the kite always drifts one way with your hands even, land and check line lengths.
- Death grip: locked arms tire fast and jerk the lines; drop your shoulders and fly with your wrists.
A Simple Practice Progression
Give each stage a full session or two before moving on. Start with launches, landings, and wide turns at the window’s edge. Add loops and figure eights next, then stalls at both edges, snap stalls, and only then axel attempts, over soft grass. One of the forgiving beginner models in our best stunt kites roundup is built for exactly this stage.
Finish every session with two deliberate landings.
Frequently Asked Questions
How long does it take to learn how to fly a stunt kite?
Most people launch, steer, and land within the first session. Clean figure eights and stalls usually take three to five sessions of an hour or so. The axel and other slack-line tricks take longer, because they depend on timing built through repetition.
What wind speed is best for a beginner stunt kite?
Steady wind around 8 to 15 mph suits most beginner models. Below that, the kite stalls and drops unless you keep moving. Above it, standard kites get fast and twitchy, and small mistakes turn into hard crashes.
Why does my stunt kite keep spinning and crashing?
Unequal line lengths are the first thing to check, because even a small difference makes the kite turn constantly. After that, the usual cause is oversteering: pulls that are too big and held too long. Land, even up the lines, then fly with half-size inputs.
Can I fly a dual line kite by myself?
Yes. A helper makes the first launch easier, but a ground launch works fine solo: lay the kite on its back, walk the lines out straight, tip the nose up with a gentle tug, and pull steadily.
What is the difference between a pull turn and a push turn?
A pull turn pulls one hand back, slowing that side of the kite so it turns that way; it is powerful and slightly slows the kite. A push turn pushes one hand forward, giving slack so the kite turns toward that side; it is gentler and preserves speed.
Final Thoughts
How to fly a stunt kite comes down to three habits: keep your lines equal, make small inputs, and always return your hands to neutral. Learn the five tricks in order, practice landings like they count, and within a few sessions the kite will start doing what you meant instead of what you did.

7 Best Kites for Adults of all Skill Levels

7 Best Prism Kites for All Experience Levels