Dribbling Drills Kids Can Do Alone in a Driveway9 min read
A driveway is an underrated training ground. It is flat, it is always available, and it is exactly big enough for the close-control work young players need most.
The dribbling drills for kids in this guide need one ball, a few markers and about twenty minutes, with no partner, no team and no driving to a field.
Solo practice works because dribbling is a repetition skill. Every touch teaches the feet how the ball responds, and a child alone in a driveway can stack up hundreds of touches in a session, while a match might give them twenty.
These dribbling drills for kids are ordered from stationary to full speed, so the same routine grows with the player.
Markers matter more than you would think. Proper cones sit flat, mark honest lines and forgive mistakes. The low-profile sets in our roundup of the best sports and soccer cones are made for exactly this kind of daily driveway use, though shoes, bottles and chalk lines all work fine on day one.
The 6 Driveway Drills at a Glance
Here is the whole session on one table. The sections below explain how to run each drill and how to make it harder as control improves.
| Drill | Time | What It Builds |
|---|---|---|
| Foundation touches and toe taps | 3 minutes | Rhythm, balance and soft touches with both feet |
| Sole rolls | 3 minutes | Control with the sole of the foot and quick changes of direction |
| Driveway weave | 5 minutes | Close control while moving, through household markers or cones |
| Figure eight | 4 minutes | Turning with the ball and switching feet smoothly |
| Wall pass and turn | 5 minutes | First touch, passing accuracy and receiving across the body |
| Stop-and-go sprints | 4 minutes | Explosive pace changes with the ball kept under control |
Stationary Dribbling Drills for Kids: Toe Taps and Sole Rolls
Start every session standing still. Stationary ball control drills for kids look simple, but they build the soft touch and balance that everything else in this guide depends on. Work in short rounds of 30 seconds with brief rests, and insist on both feet from the first day.
Foundation Touches and Toe Taps
The player stands over the ball and taps the top of it lightly with the sole of one foot, then the other, alternating like a slow jog on the spot. The ball should barely move. Stay on the balls of the feet, knees soft, and glance up between touches rather than staring down. Build the rhythm first, then the speed. A good target is 30 clean seconds without the ball rolling away. Follow toe taps with foundation touches: tapping the ball gently from the inside of one foot to the other, side to side, which teaches the soft inside touch used in almost every dribble.
Sole Rolls
Place the sole of one foot on top of the ball and roll it slowly out to the side, then pull it back. Repeat with the other foot. Next, roll the ball across the front of the body from one foot to the other, which is the movement behind a whole family of turns and escape moves in real games. Sole rolls teach a child that the bottom of the foot is a control surface, not just something to stand on. Keep the rolls slow and deliberate at first. Wobbly is fine; chasing a runaway ball every third roll means it is going too fast.
Moving Drills: Weave, Figure Eight and Stop-and-Go
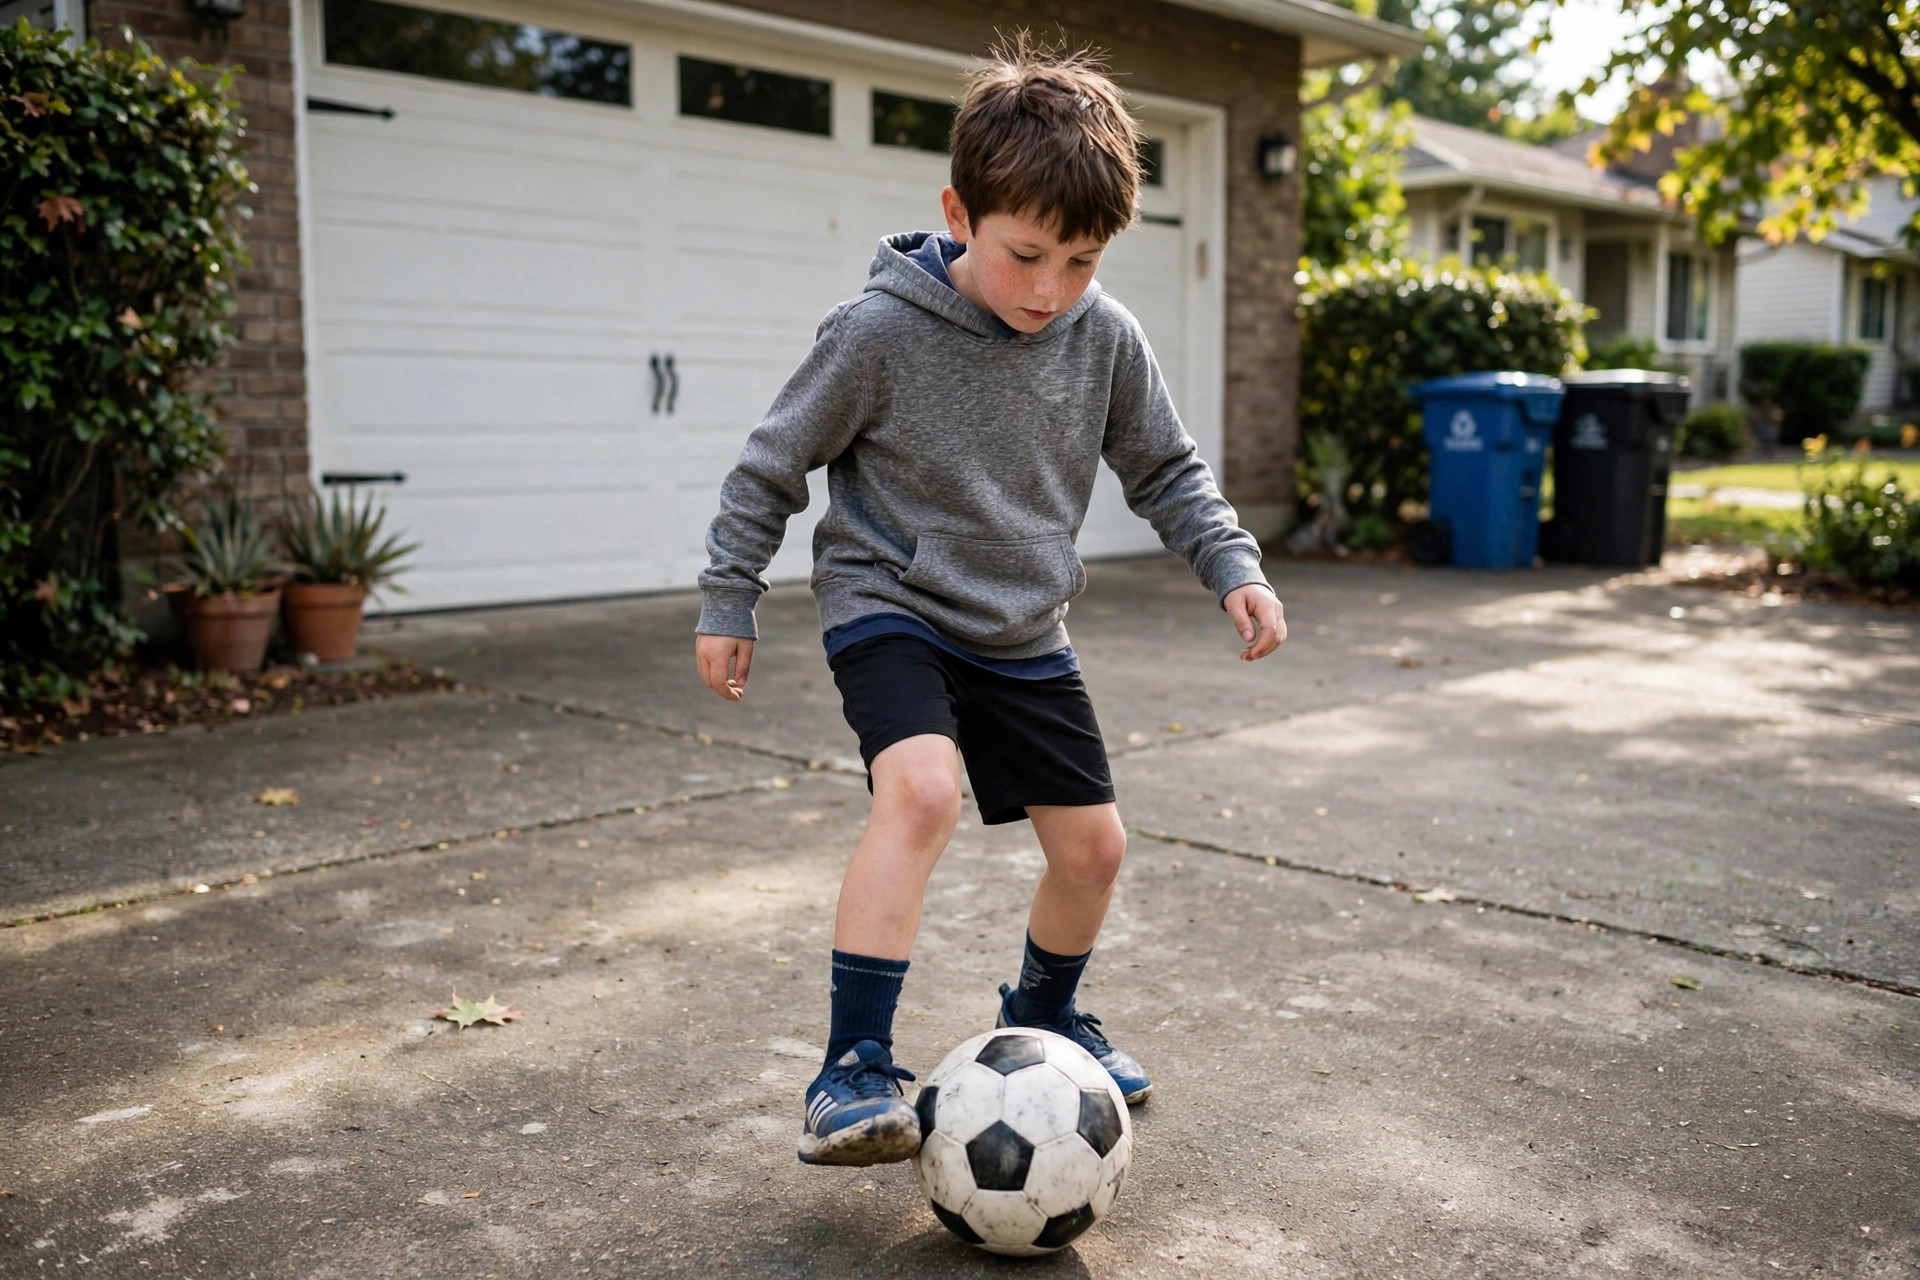
Once the ball behaves standing still, add movement. These soccer dribbling drills use the length of the driveway and turn control into something closer to what a game actually asks for.
The Driveway Weave
Set five or six markers in a line, roughly a yard apart: cones, shoes, water bottles, anything that stays put. The player dribbles through them in and out, using small touches, then jogs back with the ball and goes again. Walk it first, then jog it, then time it. Keep the ball within one step the whole way. If it keeps escaping, the spacing is too tight or the speed is too high. Once the weave is clean, real cones help, because they mark a tighter, more honest line; the disc cones in our guide to the best sports and soccer cones sit flat and stay put when clipped.
Figure Eight Around Two Objects
Place two markers about three yards apart and dribble a continuous figure eight around them: circle one, cross the middle, circle the other. Use the inside of the foot around one marker and the outside around the other, then reverse direction after a minute. Every loop forces a turn and a change of foot, which is why this simple pattern builds turning skill faster than straight-line dribbling. Smooth beats fast. Speed arrives on its own once the turns stop breaking the rhythm.
Stop-and-Go Sprints
Dribble the length of the driveway at a steady pace, freeze with a foot on the ball at a shouted “stop” or a self-chosen spot, hold two seconds, then explode away again. Repeat four to six times. Games are won by players who can change pace, not just run fast. This drill teaches the two halves of that skill: stopping the ball dead without it rolling away, and accelerating out of the stop with the first touch pushing the ball into space.
Wall Pass and Turn: A Partner Made of Brick
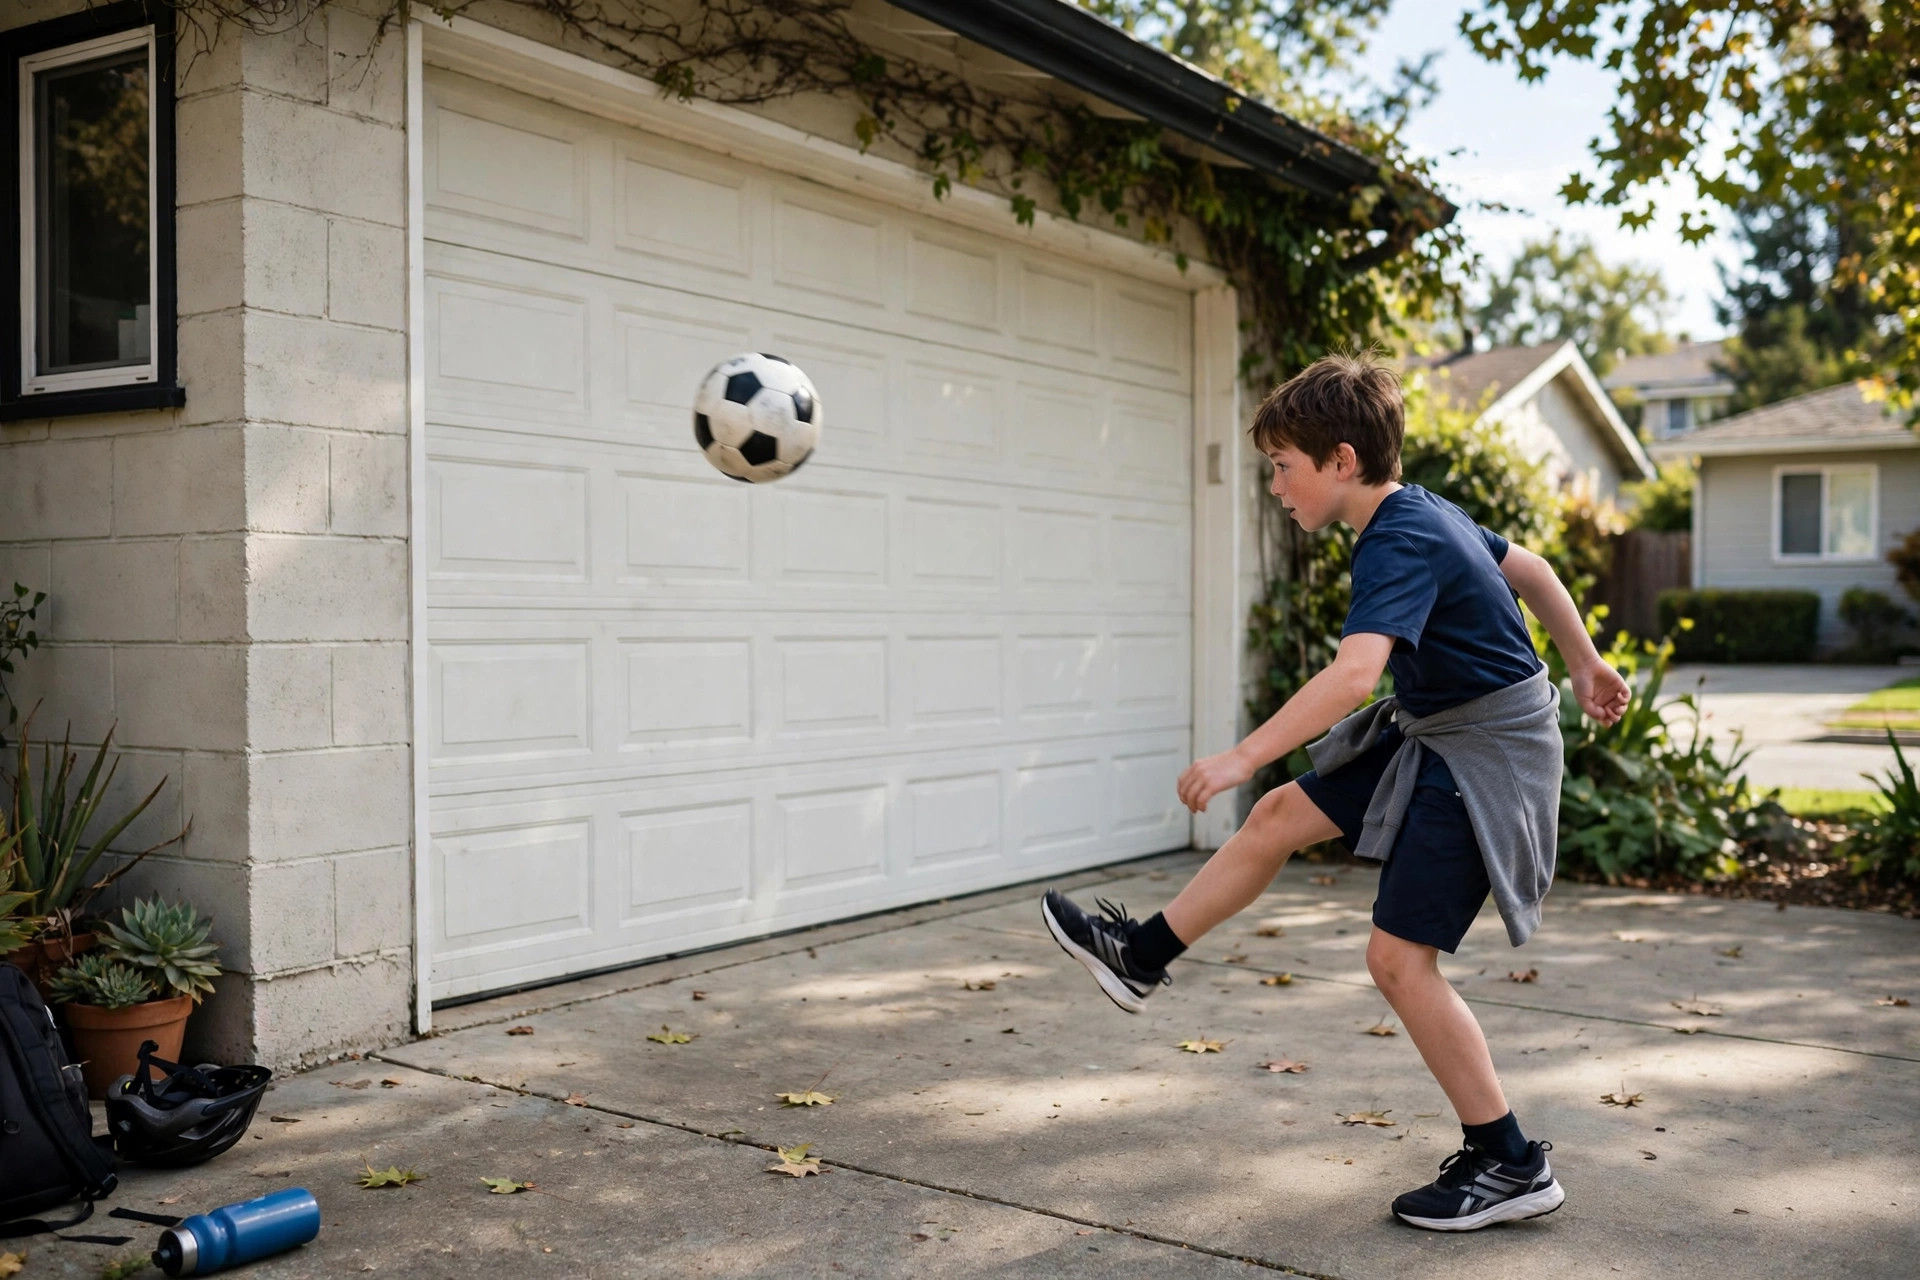
A solid wall or a sturdy garage door is the best solo training partner there is. Stand three to four yards away, pass the ball against the wall with the inside of the foot, and control the rebound. Start with two touches, one to control and one to pass, and progress toward one-touch returns. The real skill is the turn. Receive the rebound across the body with the far foot, let it run, and dribble away in the opposite direction, as if a defender had committed. Alternate sides so both feet learn the receiving touch. Ten clean turns each way is a serious workout for a young player. Pick the surface sensibly: a brick or concrete wall, not a window, a car, or a thin garage panel that dents. A slightly softer ball helps younger kids. This is the drill that most improves first touch, because the wall never passes badly and never gets tired.
A 20-Minute Driveway Session That Sticks
Put the drills together like this: three minutes of toe taps and foundation touches, three minutes of sole rolls, five minutes of weaving, four minutes of figure eights or wall passing, and four minutes of stop-and-go. Finish with a minute or two of free dribbling or juggling attempts, which is the part kids remember. Three sessions a week is plenty. End with a few shots at a target so the session closes on the fun part: the small goals in our guide to the best portable soccer nets and goals fit across the top of most driveways and fold away afterward.
Mistakes That Slow Progress
- One foot only. The weak foot feels awful for two weeks and then catches up fast. Build weak-foot rounds into every drill from the start.
- Head down throughout. Staring at the ball is natural at first, but games are played head-up. Glance up between touches, then for longer stretches.
- Sprinting before control. Speed on a drill a child cannot yet do slowly just rehearses losing the ball. Clean first, fast second.
- Sessions that run too long. Twenty focused minutes beats an hour of drifting. Stop while it is still fun and the habit survives.
- The wrong ball. Use the right size for the age group, properly inflated. An under-inflated ball feels dead and teaches heavy touches.
Frequently Asked Questions
How often should kids do dribbling drills?
Three short sessions a week is the sweet spot for most children. Fifteen to twenty minutes of driveway soccer practice, repeated regularly, builds far more control than one long weekend session, because the touches stay fresh and the habit sticks. Count team practices toward the weekly total and leave rest days between harder efforts.
How much space do dribbling drills for kids need?
A single driveway is enough for every drill in this guide. The weave and stop-and-go drills use the length of it, roughly ten yards, while toe taps, sole rolls and figure eights need only a couple of square yards. A garage, patio or quiet cul-de-sac works just as well if the surface is flat and clear of traffic.
What can kids use instead of cones for driveway drills?
Almost anything that stays where it is put: shoes, water bottles, backpacks, chalk lines, garden toys, even lines of leaves. Cones are better once drills become regular, because they sit flat, mark consistent spacing and do not roll away when clipped, but a lack of cones should never delay starting.
At what age can kids start doing dribbling drills alone?
Most children can run the stationary drills, toe taps and sole rolls, from about age five or six with a parent nearby. Moving drills and wall work suit ages seven and up. True solo sessions, where a child sets up and runs the whole routine independently, usually work from about age eight.
How long before driveway dribbling drills show results in games?
Parents usually notice a difference within three to four weeks of regular sessions: the ball stays closer, the child looks up more, and they attempt turns they used to avoid. Match confidence lags practice skill a little, which is normal. Consistent short sessions matter far more than occasional long ones.
Final Thoughts
Dribbling drills for kids do not need a field, a team or a coach. They need a ball, a flat strip of concrete and twenty minutes, three times a week. Start stationary, add movement, finish with the wall, and the close control that games reward shows up on its own schedule: sooner than most parents expect.

7 Best Portable Soccer Nets and Goals to Buy
First Soccer Practice: What Parents Should Bring and Expect